

How I make a Divine Drape
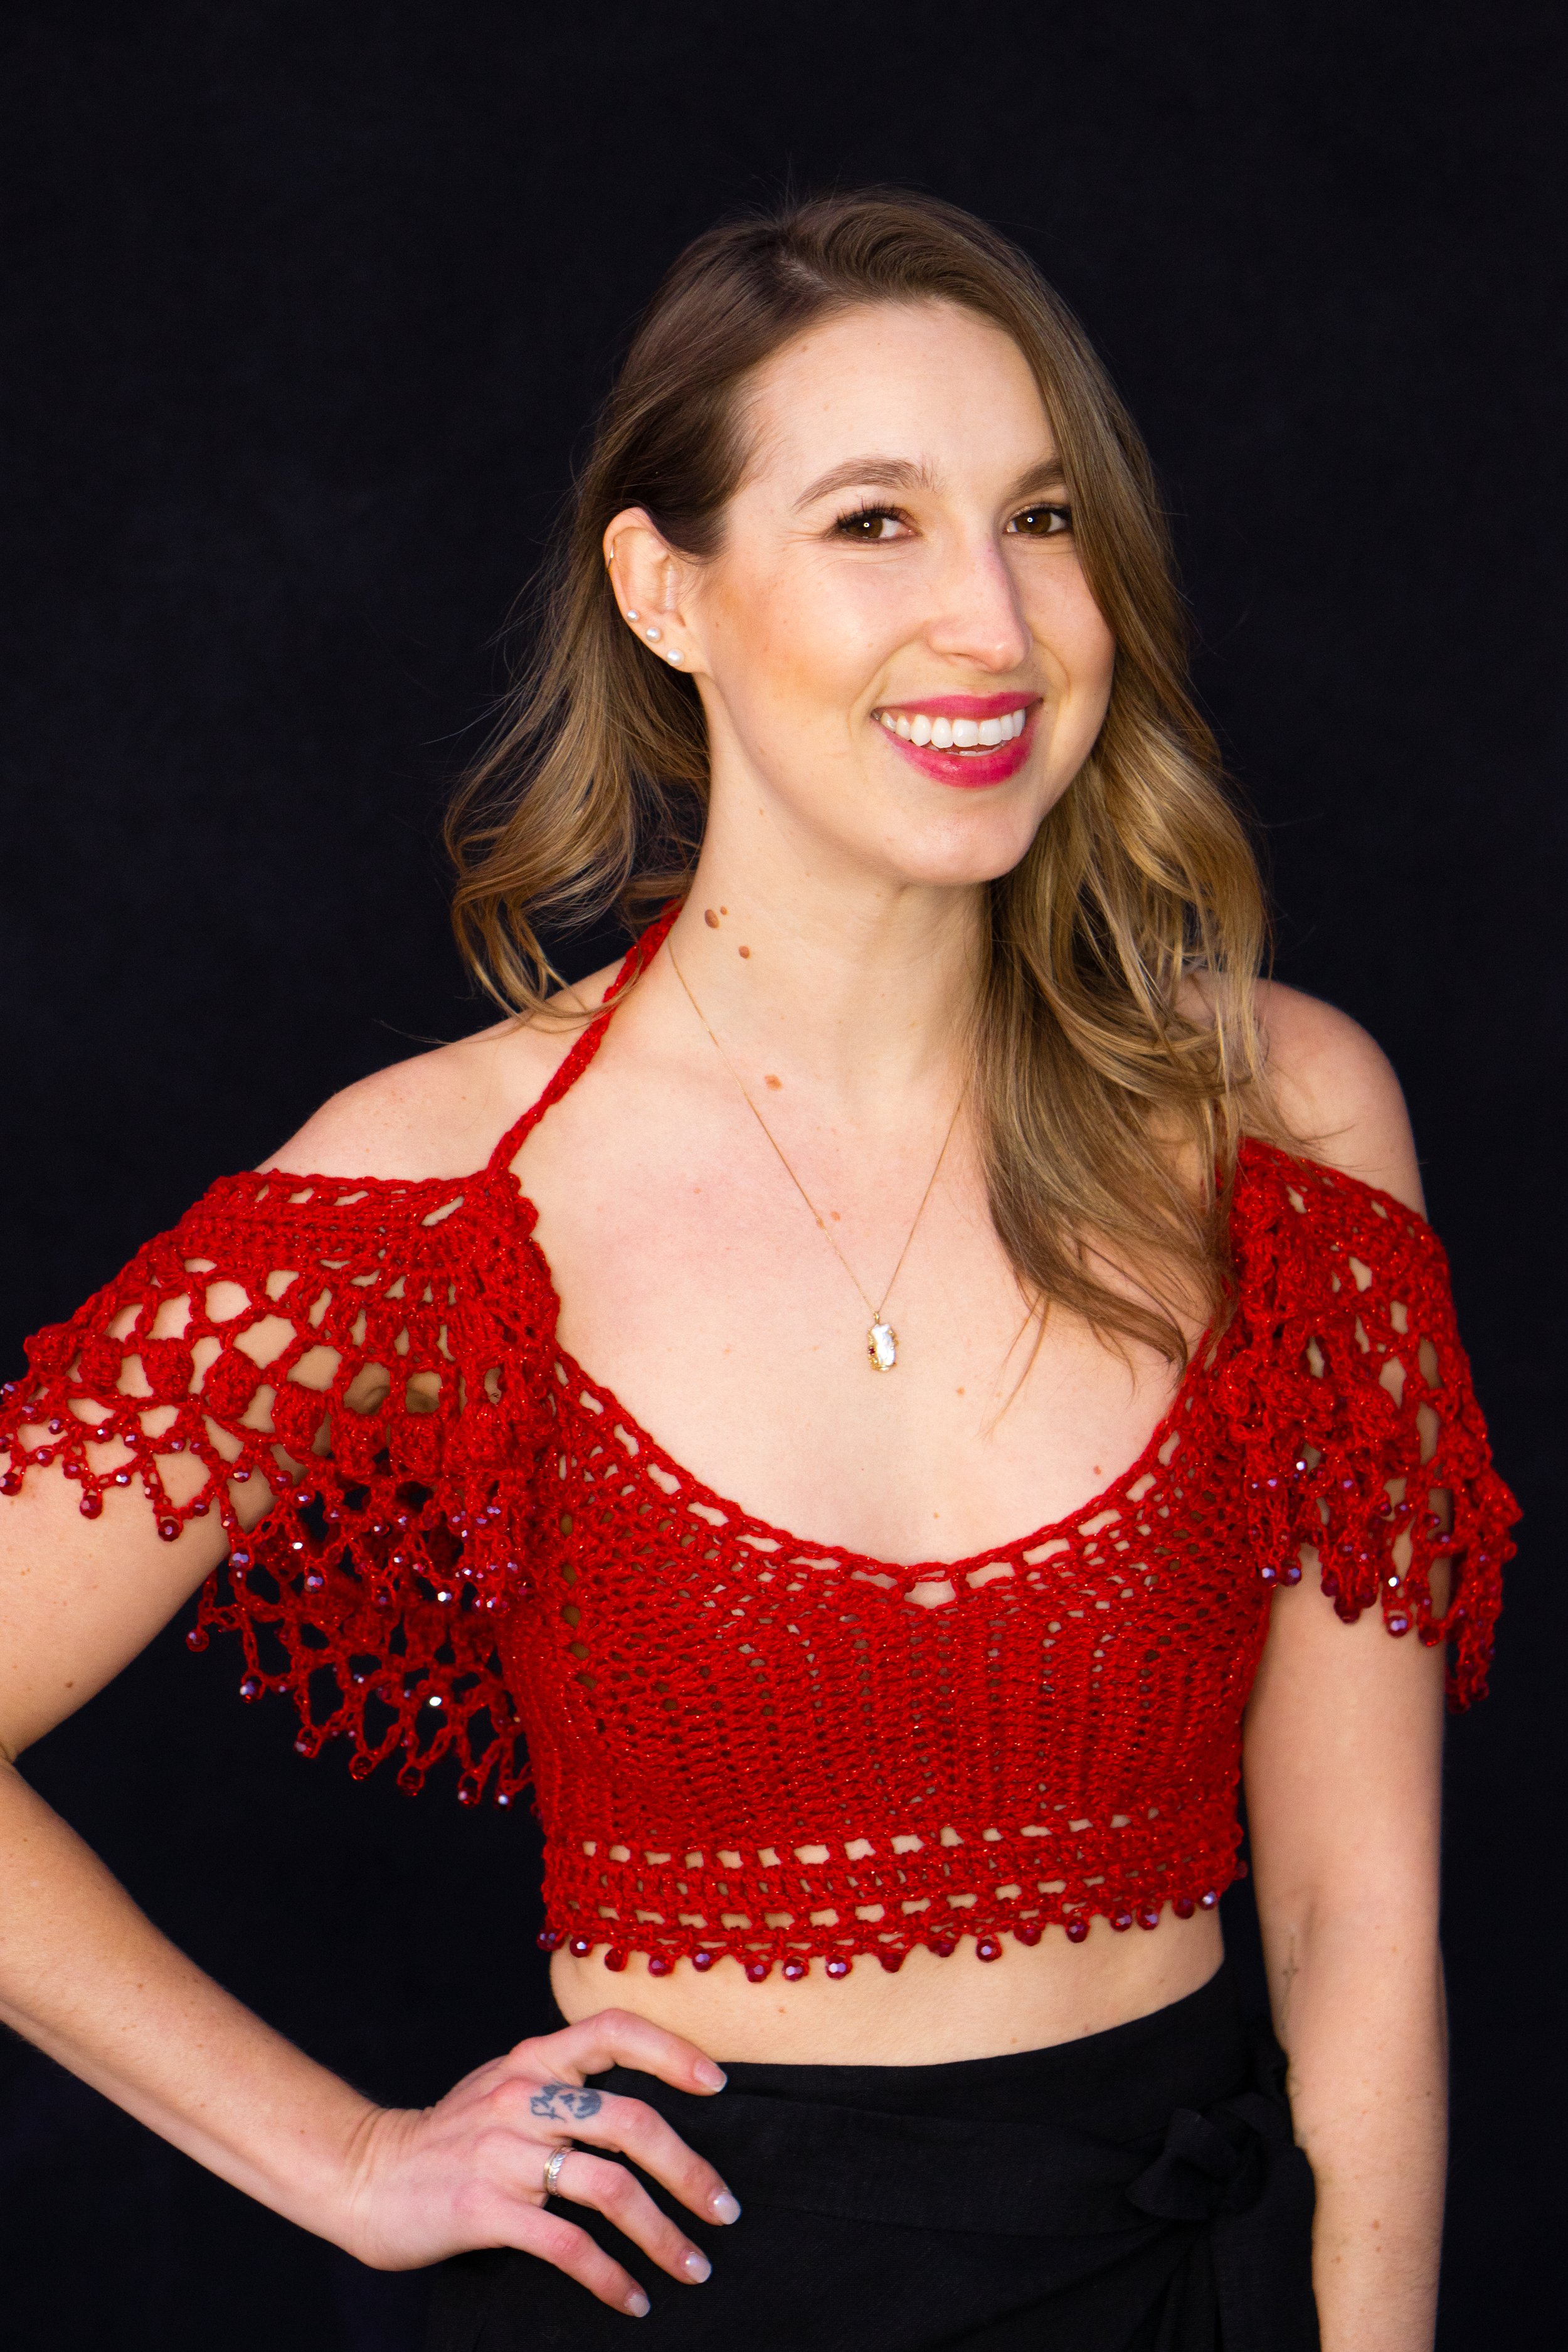


The Divine Drape has been one of my favorite elements to add to a design. It’s beautiful and elegant but makes a strong statement.
I’m sharing a few secrets for how I make my Divine Top with extra finesse to make the design pop! Get the Pattern in my shop and follow along with these fun tricks to take your top to the next level!
STEP 1: Make it SPARKLE!
I’m sure it’s no surprise that I chose a glittery red cotton yarn for my festive Divine Top. Click the link to grab some of my favorite sparkly yarn selections from Hobbii Yarn. Add in some Glitter Deluxe to any fiber to give it that metallic POP or grab their Glitter Rainbow Cotton with gold and silver threads woven in.

STEP 2: Start with the Tightest Gauge
To begin my Divine Top I start with the tightest gauge for the breast cups, underarm and perimeter round sections. The tight gauge provides the best coverage and extra support for the girls ;) Make sure that your stitches are close together. If there are big gaps between them I suggest going down a hook size. I made this section with a 4.25mm hook.


Step 3: Loosen the Gauge for the DRAPE
I like the center of the drape to be consistent with the rest of the top so I keep the same tight gauge for the first 3 rows but once I hit row #4, you best believe I am kicking it up a hook size or two. I went to a 5mm hook size to finish up the lace for the drape. The larger hook opens the lace for a looser more ruffled drape.
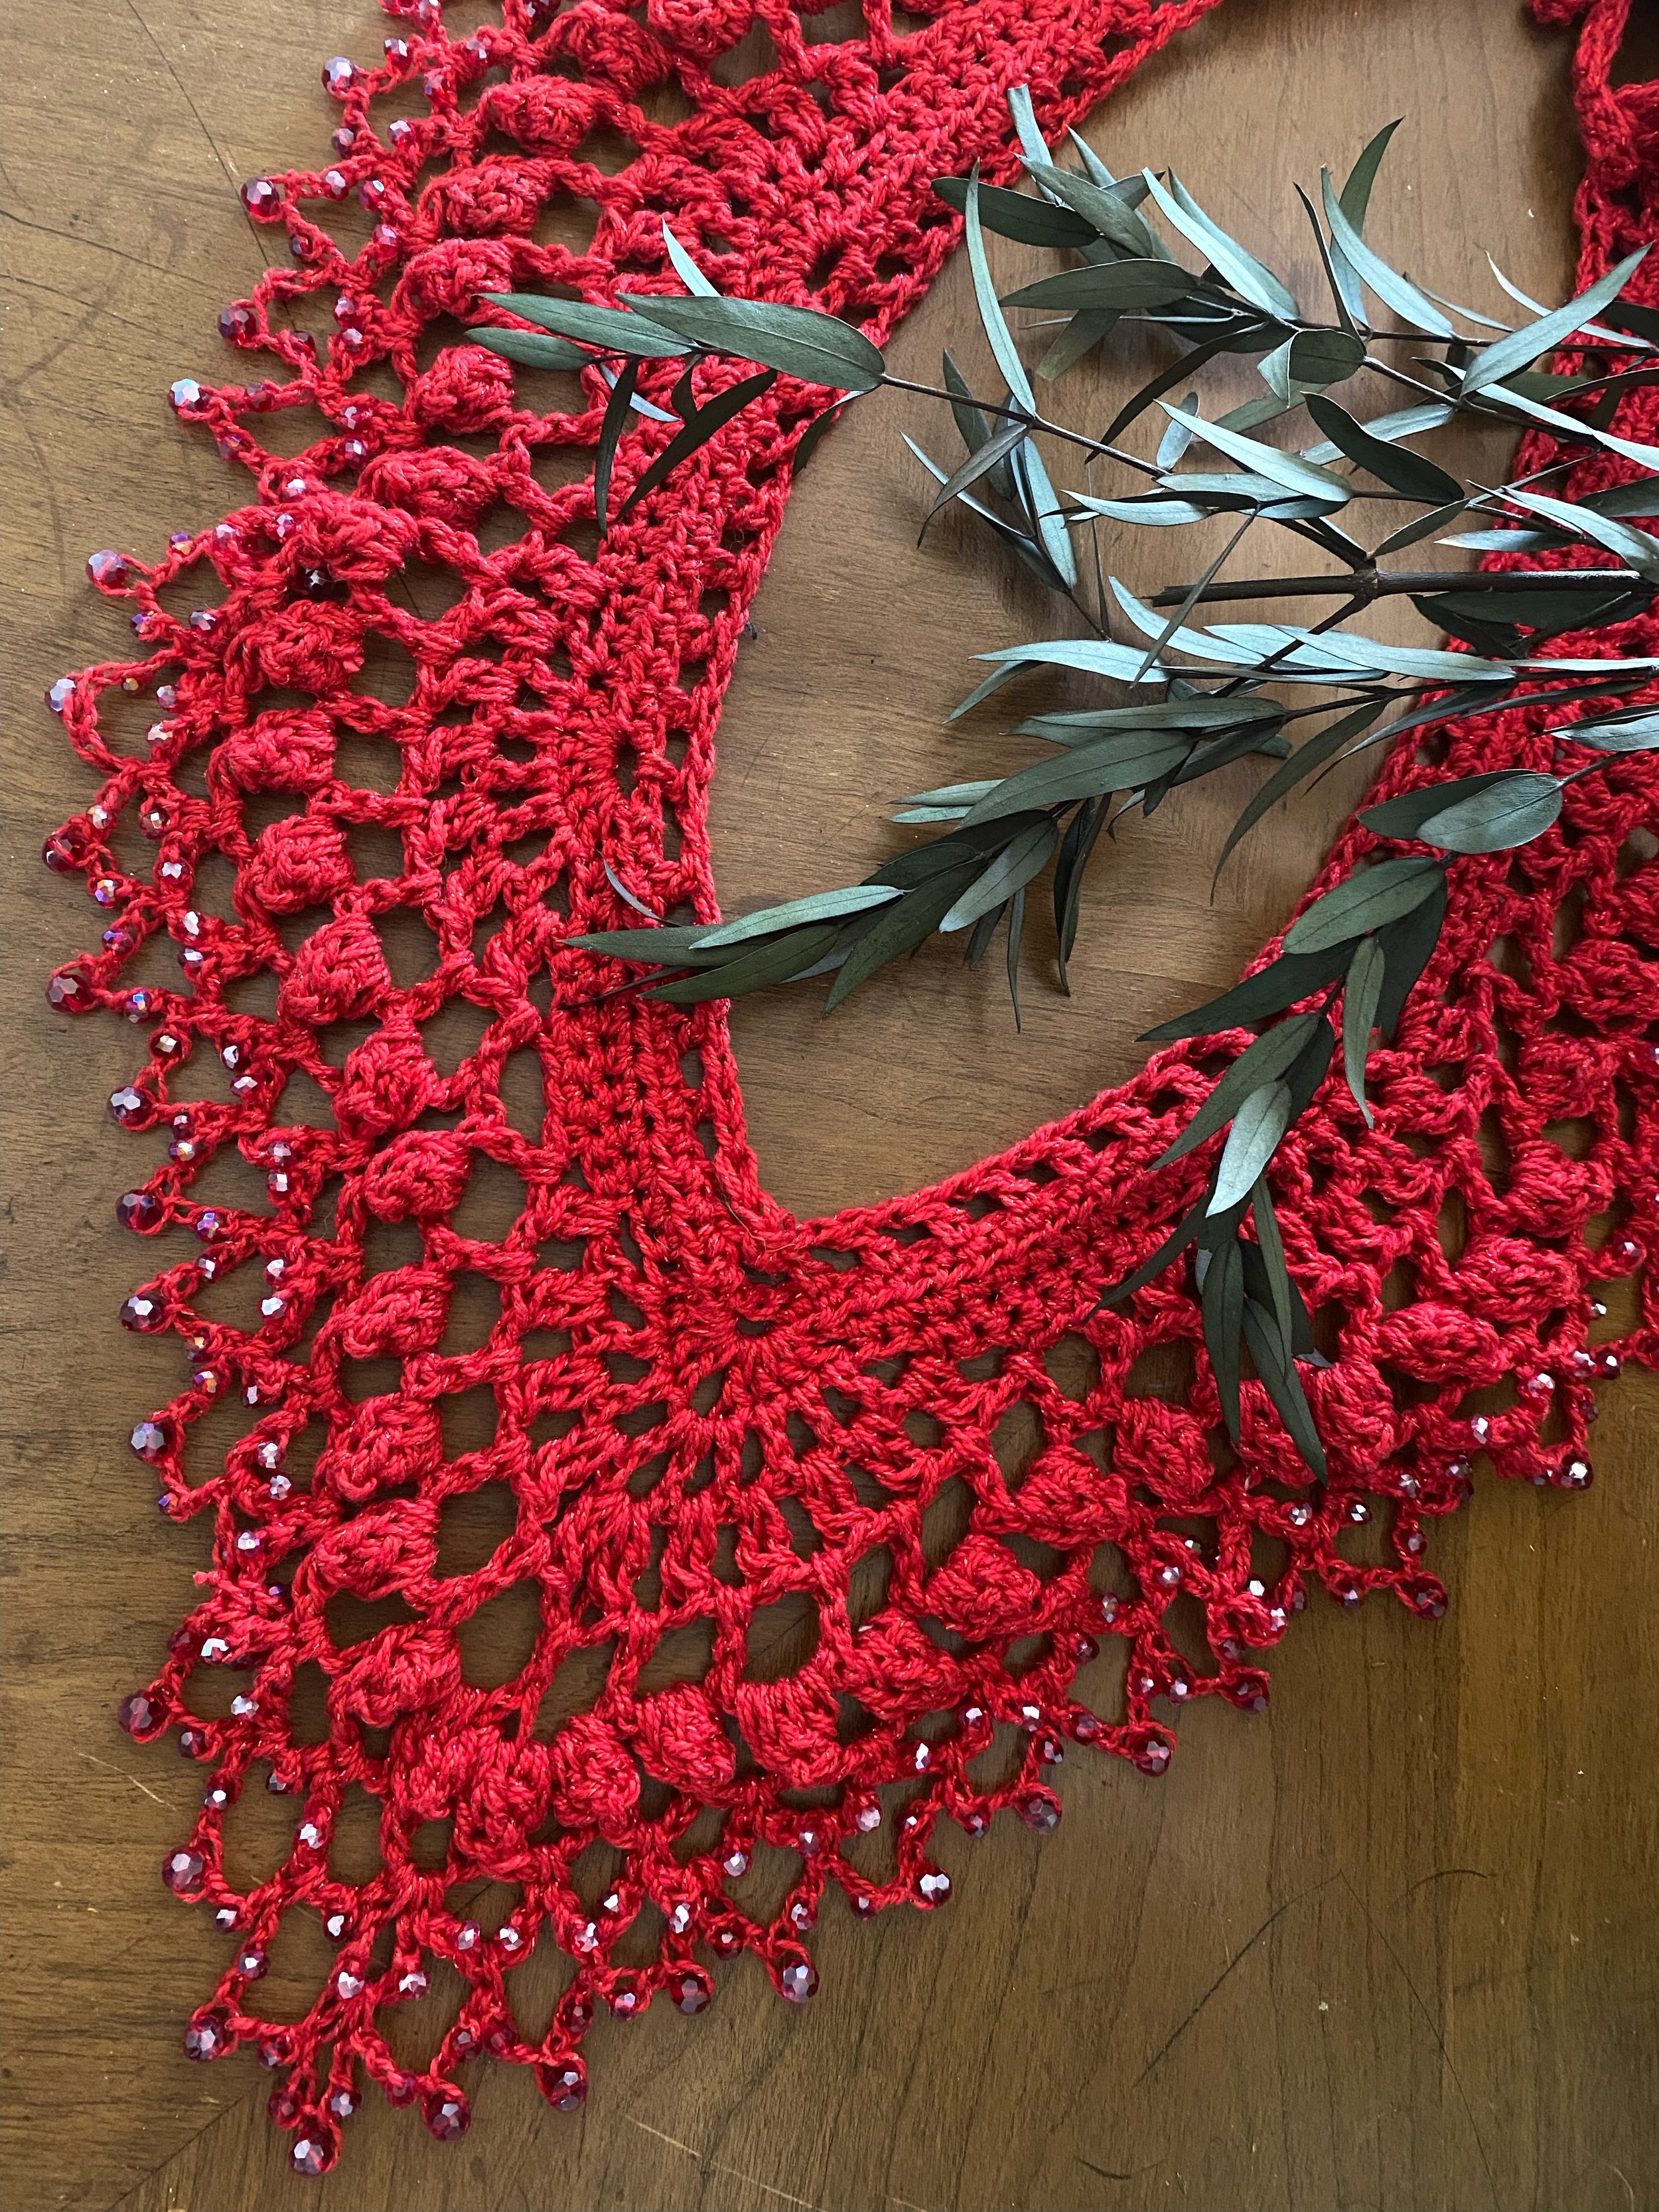
STEP 4: Add BEADS!!
I mean, obviously, we are going to add beads. Adding beading to this drape is ALWAYS a win and gives that extra sparkle and drama. The last 2 rows of the drape are chained loops and the perfect opportunity to add a little beading. I string the beads onto the yarn and add them into the chains as I go. I put two beads in each loop on the second to last row and three beads on the last row. Find my favorite glass beads in the link below!

I can’t wait to see how you make and style your Divine Top!

